How Self-Manager Works
Self-Manager.net is built around a simple but powerful idea: dates and tables.
Each date represents your workday, and each table organizes tasks, notes, and progress. From there, you can expand into weekly/monthly overviews, precise time tracking, collaboration, and AI-powered insights.
How it works:
Latest updates:
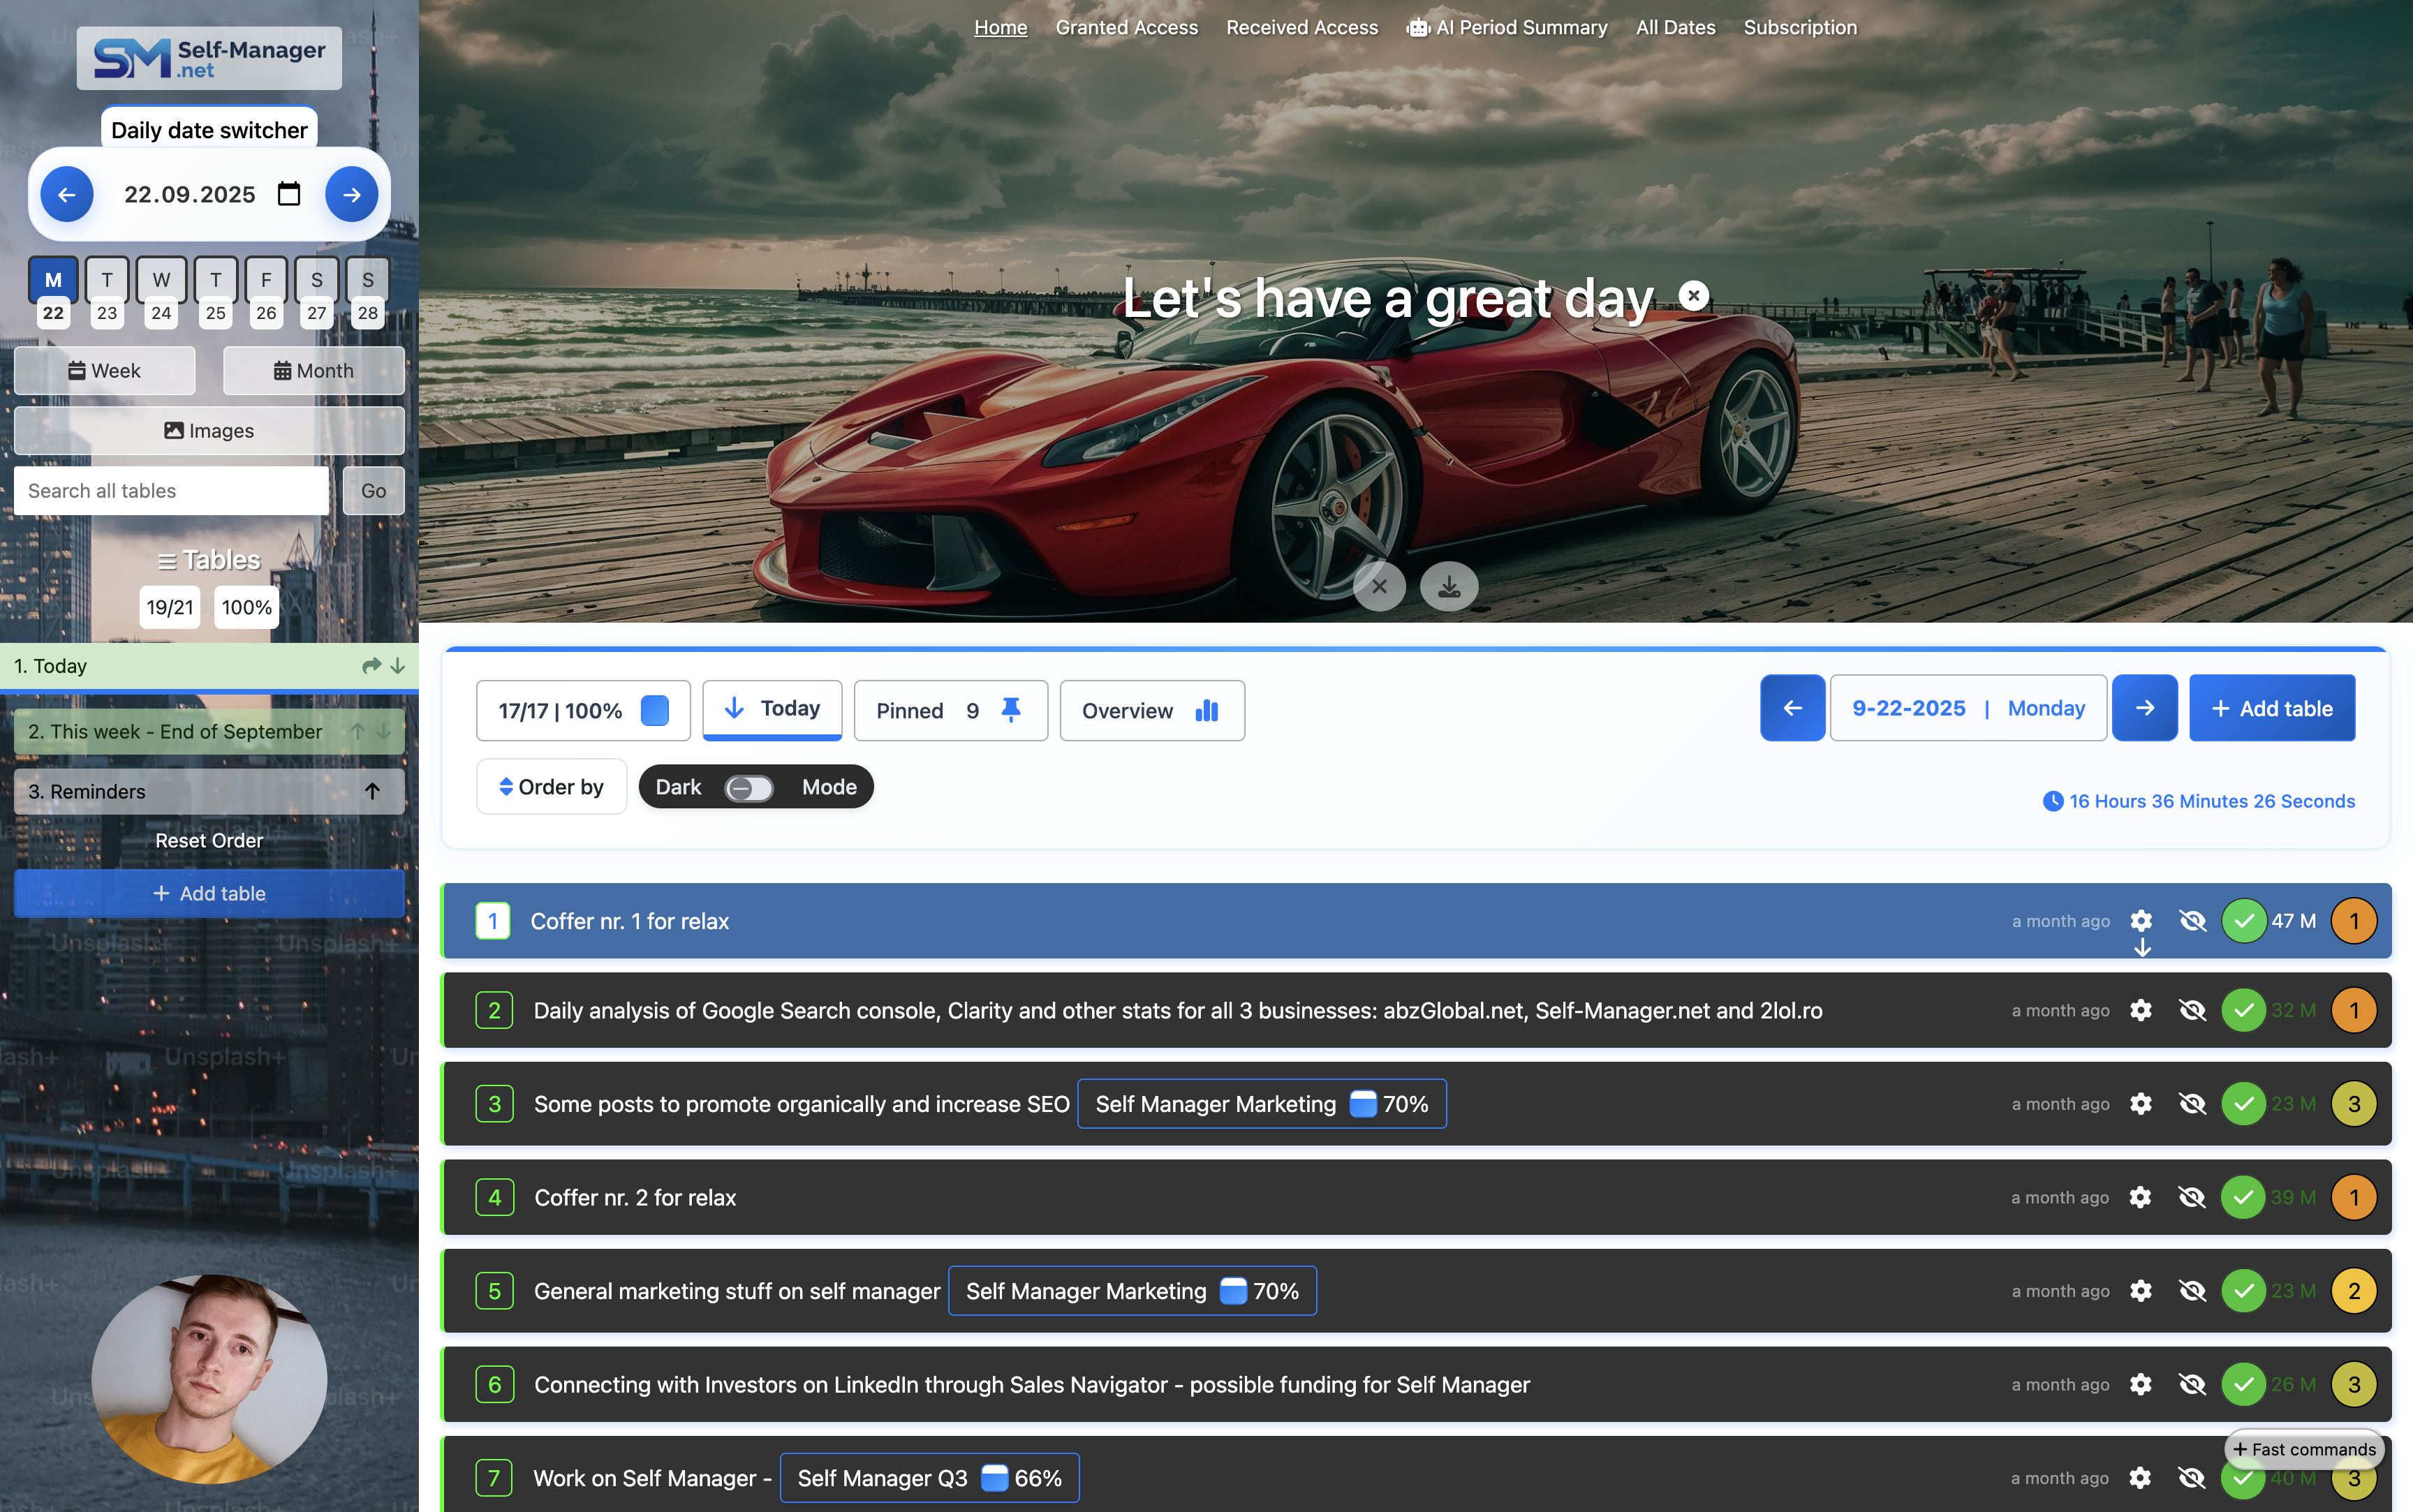
- Move between dates using the arrow icons or the date picker.
- Each date can contain unlimited tables, but only one table is active at a time.
- On desktop, switch tables from the sidebar; on mobile, use the Tables button.
- Add a "self-message" to any date — a personal note that appears at the top of the page.